How to read vernier caliper
You can read vernier caliper measurements by using easy steps. First, look at the main scale. Next, check the vernier scale. Add both readings together to get the result. Many beginners have problems when they start to use a vernier caliper, such as:
Parallax error if you look at the scale from an angle
Jaw not lined up with the object
Trouble finding the matching mark and adding readings
With practice and careful focus, you will get good at using your caliper.
Key Takeaways
Always check your caliper before you measure. Make sure to zero it first. This helps you avoid mistakes from dirt or wrong alignment.
Read the main scale first. Then look for the matching mark on the vernier scale. Add both readings together for the right measurement.
Use the correct jaws or depth rod for what you measure. Use them for outside, inside, or depth sizes.
Look straight at the scale to avoid parallax errors. Keep the jaws flat and square with the object for good results.
Practice often and clean your caliper a lot. Handle it gently to keep it accurate and help you feel confident.
Caliper Parts
Understanding the parts of a caliper helps you use it correctly and get accurate results. Each part has a special job. The table below shows the main parts and what they do:
Part Name | Function |
|---|---|
External Measuring Jaws | Measure outside dimensions like diameter, length, or width of objects. |
Fixed Jaw | Stays in place and forms one side of the external jaws. |
Movable Jaw | Slides along the main scale and holds the vernier scale. |
Internal Measuring Jaws | Measure inside dimensions such as the inner diameter of pipes or slots. |
Main Fixed Scale | Shows the main measurement in millimeters or inches. |
Vernier Scale | Lets you read small fractions of the main scale for more precise measurements. |
Lock Screw | Holds the jaws in place after you take a measurement. |
Thumb Screw | Helps you move the jaws smoothly while measuring. |
Depth Rod or Depth Bar | Measures the depth of holes or slots. |
Fine Adjustment Screw | Lets you make small changes for very accurate measurements. |
Main Scale
You find the main scale on the body of the caliper. It has clear markings, usually in millimeters or inches. This scale gives you the first part of your measurement. The main scale is strong and does not move, so you can trust it for a steady reading. You start every measurement by looking at this scale. It sets the base for the final result, which the vernier scale will make even more exact.
Tip: Always check the main scale first before using the vernier scale for more detail.
Vernier Scale
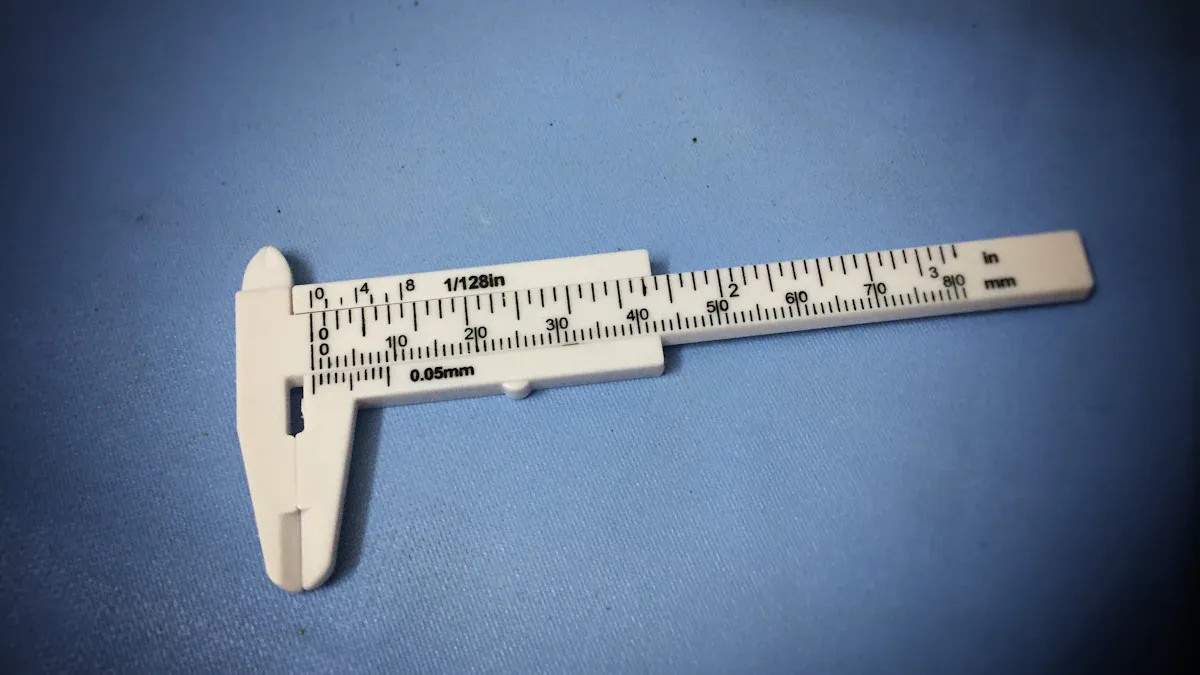
The vernier scale slides along the main scale. It helps you read very small differences that the main scale cannot show. Most metric calipers have a vernier scale that divides each millimeter into ten parts, so you can measure down to 0.1 mm. Some imperial calipers let you read as fine as 1/128 inch or even 1/1000 inch. This extra detail makes your measurements much more precise.
Jaws and Depth Rod
You use the jaws and depth rod for different types of measurements. The lower jaws measure the outside of objects, like the width of a block or the diameter of a rod. The upper jaws measure the inside of things, such as the opening of a pipe. The depth rod slides out from the end of the caliper and lets you measure how deep a hole or slot is.
Part | Function | Example Use |
|---|---|---|
Lower Jaws | Measure outside dimensions | Checking the thickness of a board |
Upper Jaws | Measure inside dimensions | Measuring the width of a groove |
Depth Rod | Measure depth | Finding the depth of a drilled hole |
You can use calipers for many tasks because of these different parts. Each part works together to help you get a clear and accurate measurement.
Type of caliper
You can pick from different types of caliper. Each type measures things in its own way. Each one has special features. The table below shows how the main types are different:
Caliper Type | Measurement Principle | Key Features and Differences |
|---|---|---|
Vernier Caliper | Has a fixed main scale and a sliding Vernier scale. You read it by hand and do the math yourself. | You need skill to use it. You line up the marks to measure. It does not use electronics. |
Dial Caliper | Changes straight movement into turning movement with a rack and pinion. Shows the measurement on a dial. | Easier to read than Vernier. Has an analog dial. Needs cleaning and calibration often. |
Digital Caliper | Uses electronic sensors to show the measurement on an LCD screen. | No manual reading mistakes. Shows numbers right away. Can connect to computers to save data. |
Vernier Caliper
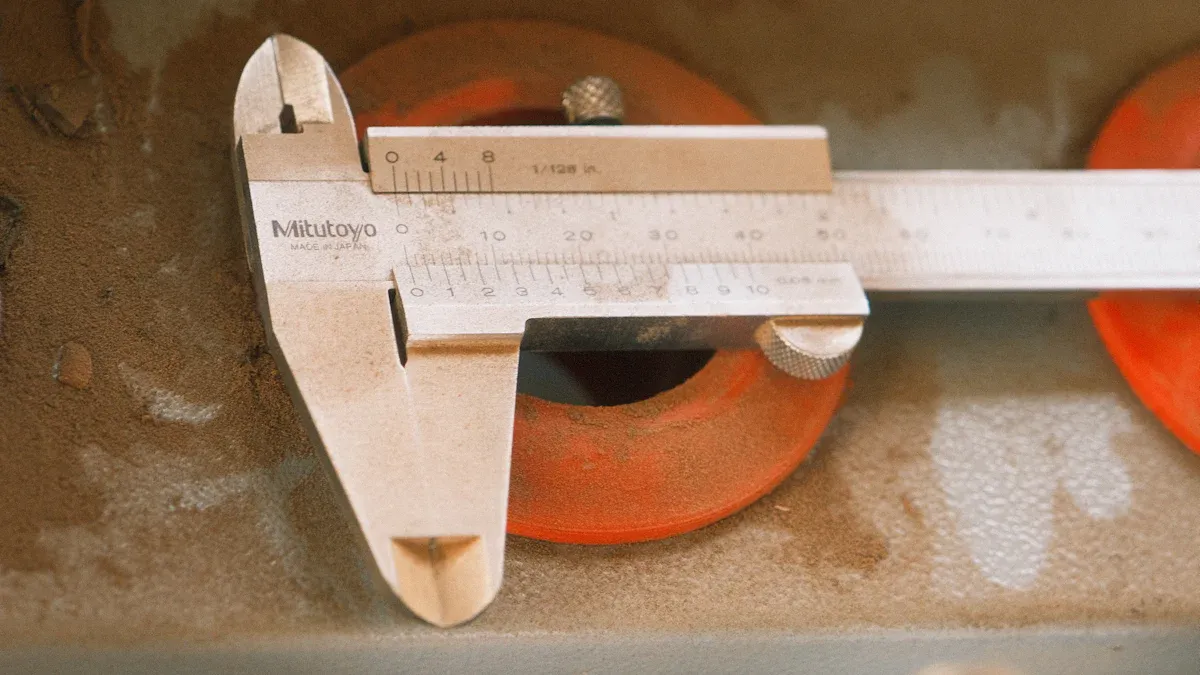
You use a vernier caliper for simple and steady measurements. It has a main scale and a sliding vernier scale. You read it by matching the marks and adding the numbers. Vernier calipers do not need batteries. You can use them anywhere. They are strong and last a long time. They can be tricky to read at first. You get better with practice. Many experts like this caliper because it is tough and accurate.
Tip: Vernier calipers work well in rough places because they have fewer weak parts.
Dial Caliper
A dial caliper helps you read measurements more easily. It uses a rack and pinion to move a pointer on a round dial. You see the main number on the scale. The small part shows on the dial. You do not need to figure out scale lines. You get results faster. Dial calipers do not need batteries. You must keep them clean and check them often. They are not as tough as vernier calipers. They can be affected by bumps or magnets.
Note: Dial calipers show decimal numbers right away, so you make fewer mistakes.
Digital caliper
You get quick results with a digital caliper. It uses electronic sensors and shows the number on an LCD screen. You do not need to read scales or dials. You can switch between inches and millimeters with a button. Digital calipers let you set zero at any spot. You can save or send data. These features make digital calipers easy to use. They are good for fast and clear results. They need batteries. They may not be as strong as other types. They help you avoid mistakes.
Digital calipers are best for people who want fast, correct numbers.
Some digital calipers can connect to computers to keep records.
Read Vernier Caliper Steps
Learning how to read vernier caliper measurements takes practice. You can follow these steps to get accurate results every time.
Zero the Caliper
Before you start, always check if your caliper reads zero. Close the jaws gently. Look at the scale. The zero on the main scale and the zero on the vernier scale should line up. If they do not, you may have a zero error. This can happen from dirt, wear, or past use. If you use a digital caliper, press the zero button. For a dial caliper, turn the dial until it points to zero. Zeroing your caliper stops mistakes before you measure anything.
Tip: Clean the jaws before you close them. Even a small bit of dust can cause errors.
Main Scale Reading
Now, place the object between the jaws. Move the jaws until they touch the object gently. Do not squeeze too hard. Look at the main scale. Find the last whole number or mark just before the zero on the vernier scale. This is your main scale reading. It gives you the main part of your measurement.
Always keep your eyes straight above the scale. If you look from the side, you can make a parallax error. This means you see the mark in the wrong place and get a wrong reading.
Make sure the jaws are flat and square with the object.
Vernier Scale Reading
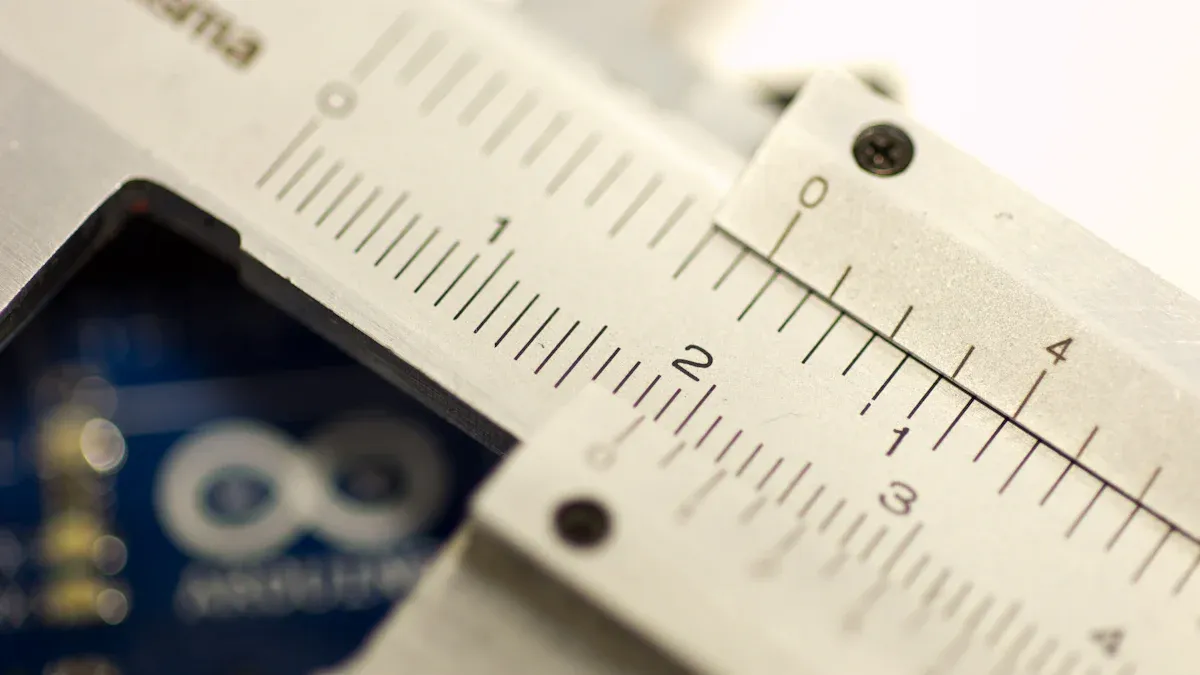
Next, look at the vernier scale. Find the mark on the vernier scale that lines up best with any mark on the main scale. This is your vernier scale reading. It shows the small part of the measurement that the main scale cannot show.
Sometimes, two marks look close. Pick the one that matches best.
If you have trouble, use a magnifying glass for a closer look.
Add Readings
Now, add the main scale reading and the vernier scale reading together. This gives you the final measurement.
Step-by-Step Example (Metric)
Close the jaws and check for zero.
Place a small rod between the jaws.
On the main scale, the last mark before the zero on the vernier scale is 12 mm.
On the vernier scale, the 6th mark lines up with a mark on the main scale. Each vernier mark is 0.02 mm.
Multiply 6 × 0.02 mm = 0.12 mm.
Add 12 mm + 0.12 mm = 12.12 mm.
Step-by-Step Example (Inch)
Place a coin between the jaws.
The main scale shows 0.5 inches before the zero on the vernier scale.
The 4th vernier mark lines up. Each mark is 0.001 inch.
Multiply 4 × 0.001 inch = 0.004 inch.
Add 0.5 inch + 0.004 inch = 0.504 inch.
Note: Always double-check your result. If you see a gap between the jaws and the object, or if the jaws are not flat, measure again.
Common Mistakes to Avoid
Do not force the jaws closed. This can bend the caliper or damage the object.
Do not read the scale from an angle. Always look straight down.
Make sure the object sits flat between the jaws.
Keep the caliper clean and store it safely.
You can read vernier caliper measurements with confidence if you follow these steps. Practice helps you spot the right marks and avoid errors. Remember to check for zero, read the main scale, find the matching vernier mark, and add the readings. With time, you will read vernier caliper results quickly and accurately.
Vernier Calipers Use
Vernier calipers let you measure things very accurately. You can use them in science class, machine shops, woodworking, and even in hospitals. Every part of the caliper does something important. You should learn how to use the jaws and depth rod for each kind of measurement.
Outside Measurement
The lower jaws help you measure the outside of things. Put the object between the jaws. Close the jaws gently until they touch the object. Make sure the object is near the main scale’s base. This way works well for checking how thick a board is, how wide a block is, or the diameter of a rod.
Tip: Do not press too hard. Gentle pressure gives the best result.
Inside Measurement
You use the upper jaws to measure inside holes or slots. Open the jaws and put them inside the space. Spread the jaws until they touch both sides. Keep the jaws straight with the workpiece to get the right reading. This is good for measuring the width of a groove or the diameter of a pipe.
Note: Always keep the jaws clean. Dirt can mess up your measurement.
Depth Measurement
The depth rod comes out from the end of the caliper. Put the base of the caliper flat on the surface. Slide the rod down into the hole or slot until it touches the bottom. Look at the scale to see the depth. This helps you find out how deep a hole or recess is.
Part | Location | Function |
|---|---|---|
Outside Jaws | Lower jaws | Measure outside sizes like width, thickness, or diameter |
Inside Jaws | Upper jaws | Measure inside sizes such as hole or slot diameter |
Depth Probe | End of caliper | Measure how deep holes, slots, or recesses are |
You can see vernier calipers used in many jobs:
Schools and labs for learning and experiments
Quality checks in electronics, cars, and airplanes
Factories for checking parts
Woodworking for careful cuts and fitting
Hospitals and dental offices for measuring implants and jawbones
To get better at using a caliper, try these tips:
Measure things often to get better.
Always look straight at the scale.
Clean the caliper before and after using it.
Watch videos or use practice sheets to learn faster.
Practicing with real things and watching how-to videos will help you get good at every kind of measurement.
Caliper Tips
Avoid Errors
You can get the most accurate results from your vernier caliper by following a few simple habits. Many people make mistakes like parallax error, where you read the scale from an angle and get the wrong number. Always look straight down at the scale to avoid this. Keep the jaws flat and square with the object. If you tilt the caliper, you might see a bigger or smaller number than the real size.
Here are some best practices to help you avoid errors:
Zero the caliper before each use. Close the jaws and check that both zeros line up.
Open and close the jaws a few times to confirm the zero stays correct.
Move the caliper around the object to find the most accurate spot. Keep the jaws flat.
Use the locking knob to hold your measurement, especially if you need to move the caliper.
Handle the caliper gently. Do not drop it or use it as a substitute for other tools.
Clean both the caliper and the object before measuring. Even a small bit of dirt can change your result.
Store your caliper in a dry, clean place. Moisture and dust can cause damage.
Tip: Calibrate your caliper at least once a year using gauge blocks or other standards. Regular calibration keeps your measurements trustworthy.
Least Count
The least count is the smallest value your caliper can measure. For most vernier calipers, this is 0.02 mm. This number tells you how precise your tool is. If your caliper has a smaller least count, you can measure smaller differences. For example, a caliper with a least count of 0.01 mm gives you even finer results.
The least count depends on the design of the main and vernier scales. If the main scale has 1 mm divisions and the vernier scale has 50 divisions, the least count is 0.02 mm (1 mm divided by 50). This small unit lets you measure tiny changes in size.
Understanding least count helps you avoid mistakes. You should never try to read a value smaller than the least count. Always record your measurement to the nearest least count. This way, you get the most accurate and reliable results from your caliper.
Note: The least count sets the limit for how precise your measurements can be. Always check your caliper’s least count before starting any important work.
To read a vernier caliper, follow these steps:
Loosen the locking screw and close the jaws to check for zero error.
Clean the object and place it between the jaws.
Read the main scale at the zero mark of the sliding scale.
Find the vernier scale mark that lines up with the main scale.
Add both readings for your final measurement.
Regular practice helps you avoid mistakes and builds your confidence. You can use online guides and practice sheets to improve your skills and measure with accuracy.
FAQ
How do you check for zero error on a vernier caliper?
Close the jaws gently. Look at the zero marks on both the main and vernier scales. If they do not line up, you see a zero error. Clean the jaws and try again. You must fix zero error before you measure anything.
What is the least count of a standard vernier caliper?
Most standard vernier calipers have a least count of 0.02 mm. This means you can measure changes as small as 0.02 mm. You find the least count by dividing the smallest main scale division by the number of divisions on the vernier scale.
Can you measure depth with a vernier caliper?
Yes, you can measure depth using the depth rod. Place the base of the caliper flat on the surface. Slide the rod down into the hole until it touches the bottom. Read the scale for the depth measurement.
Why does parallax error happen when reading a caliper?
Parallax error happens when you look at the scale from an angle. Your eyes see the marks in the wrong place. Always look straight down at the scale. This helps you get the correct reading every time.
How do you keep your vernier caliper accurate?
Clean your caliper after each use. Store it in a dry place. Check for zero error often. Calibrate your caliper once a year. Handle it gently. Use the lock screw to hold measurements steady.
Tip: Regular care keeps your caliper working well for years.